How to Replace Trimmer Line: Your Detailed Guide
Mastering Essential Maintenance: A Step-by-Step Guide to Replacing Your Trimmer Line
We may earn commission from our brand partners when purchasing products through our links. Learn more.
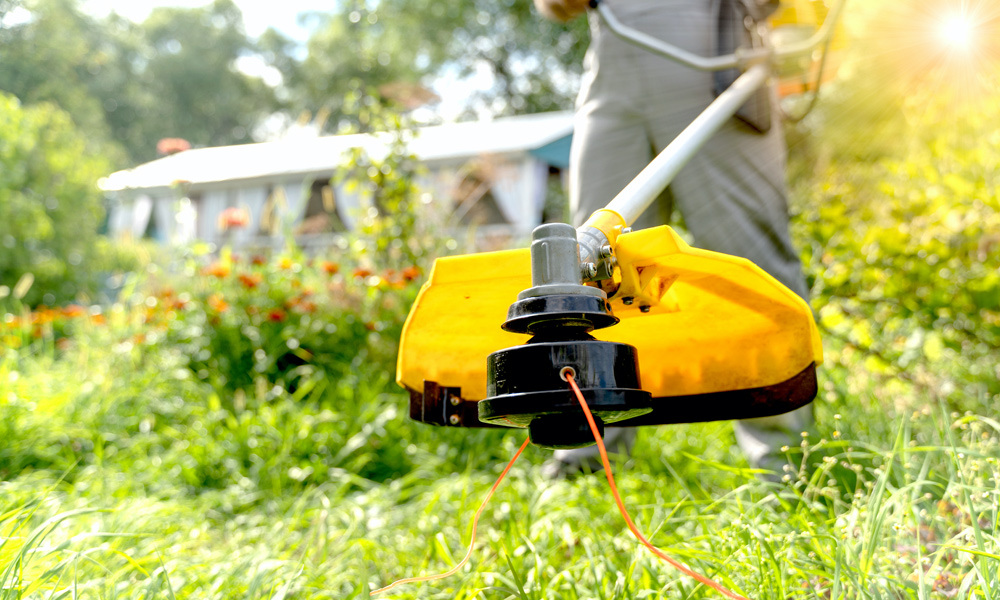
Whether you’re a seasoned landscaper or a homeowner who loves a well-kept yard, a string trimmer is an indispensable tool in your gardening arsenal. String trimmers are excellent for cutting grass and weeds in places that mowers cannot reach, such as along fence lines, around tree trunks, and in tight corners. Understanding the purpose of a string trimmer will help you get the most out of your tool. Replacing the trimmer line is one of the most common maintenance tasks you’ll perform with your string trimmer. This comprehensive guide will walk you through the process.
What You Will Need
- String trimmer
- Replacement trimmer line
- Scissors
Steps to Replace Trimmer Line
1. Disconnect the Power Source
Before you start, ensure your safety by disconnecting the power source. If you’re using a gas trimmer, turn off the engine. For electric models, unplug the trimmer or remove the battery.
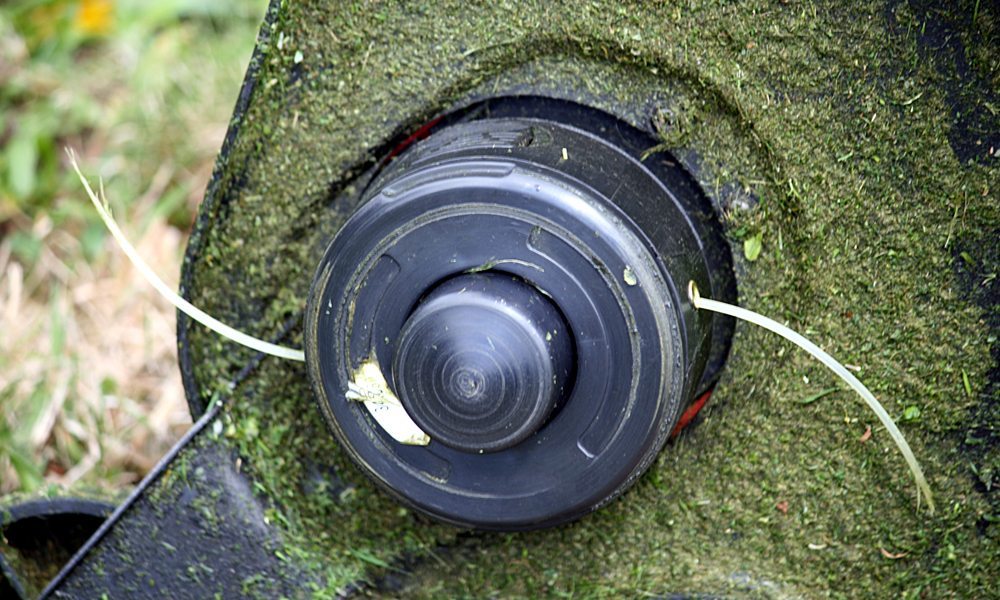
2. Remove the Spool
The trimmer line is wound around a spool located inside the trimmer head. To access it, press the tabs on the side of the trimmer head and pull it apart.
3. Clean the Trimmer Head
Check the trimmer head for grass, dirt, and other debris. Clean it out to ensure smooth operation.
4. Wind the New Line
Cut your new line to the appropriate length (usually indicated in your trimmer’s manual). Thread it through the eyelet on the spool and wind it around in the direction of the arrows. Be sure to wind the line evenly and tightly.
5. Reassemble the Trimmer
Thread the line through the notches in the trimmer head, then replace the spool inside the head. Click the head back into place.
6. Test the Trimmer
Reconnect the power source and start the trimmer to ensure the line feeds out correctly.
Tips for Replacing Trimmer Line
- Always check your manual before you start. The replacement process can vary between different models of string trimmers.
- Choose the correct trimmer line. Using the wrong size or type can damage your trimmer or decrease its effectiveness. We have guides for choosing the best gas string trimmers, the best brush cutters, and the best electric weed eaters.
- Regular maintenance can prolong the life of your trimmer. Learn how to start a string trimmer properly and keep it in top shape.
FAQs
How often should I replace the trimmer line?
This depends on how often and how intensively you use your trimmer. Heavy users might need to replace it every time they use the trimmer, while less frequent users might only need to replace it once a season.
Can I use a different brand of trimmer line with my string trimmer?
Yes, as long as the size and type of the line are compatible with your trimmer. Always check your manual to ensure you’re using the correct line.
Can I use a string trimmer for larger tasks like hedge trimming or lawn edging?
While a string trimmer is versatile, it might not be the best tool for all tasks. For more substantial tasks like trimming large hedges, you would be better off with a cordless hedge trimmer or a hedge trimmer that’s designed specifically for that job. Consider investing in a lawn edger for neat edges along your lawn, as this tool will provide the precision that a string trimmer might not offer.
Conclusion
Replacing the trimmer line on your string trimmer is a routine maintenance task ensuring your tool performs at its best. You should feel confident in completing this task by understanding the steps involved, along with some handy tips and FAQs. Whether you’re considering the best string trimmer to purchase or learn how to maintain your current tool, having this knowledge is essential for every DIY enthusiast or gardening pro. Keep your yard in top shape by keeping your string trimmer at peak performance. Remember, proper tool maintenance not only extends the life of your tools but also results in a well-maintained and attractive yard. Happy trimming!